Cat Fish Frame
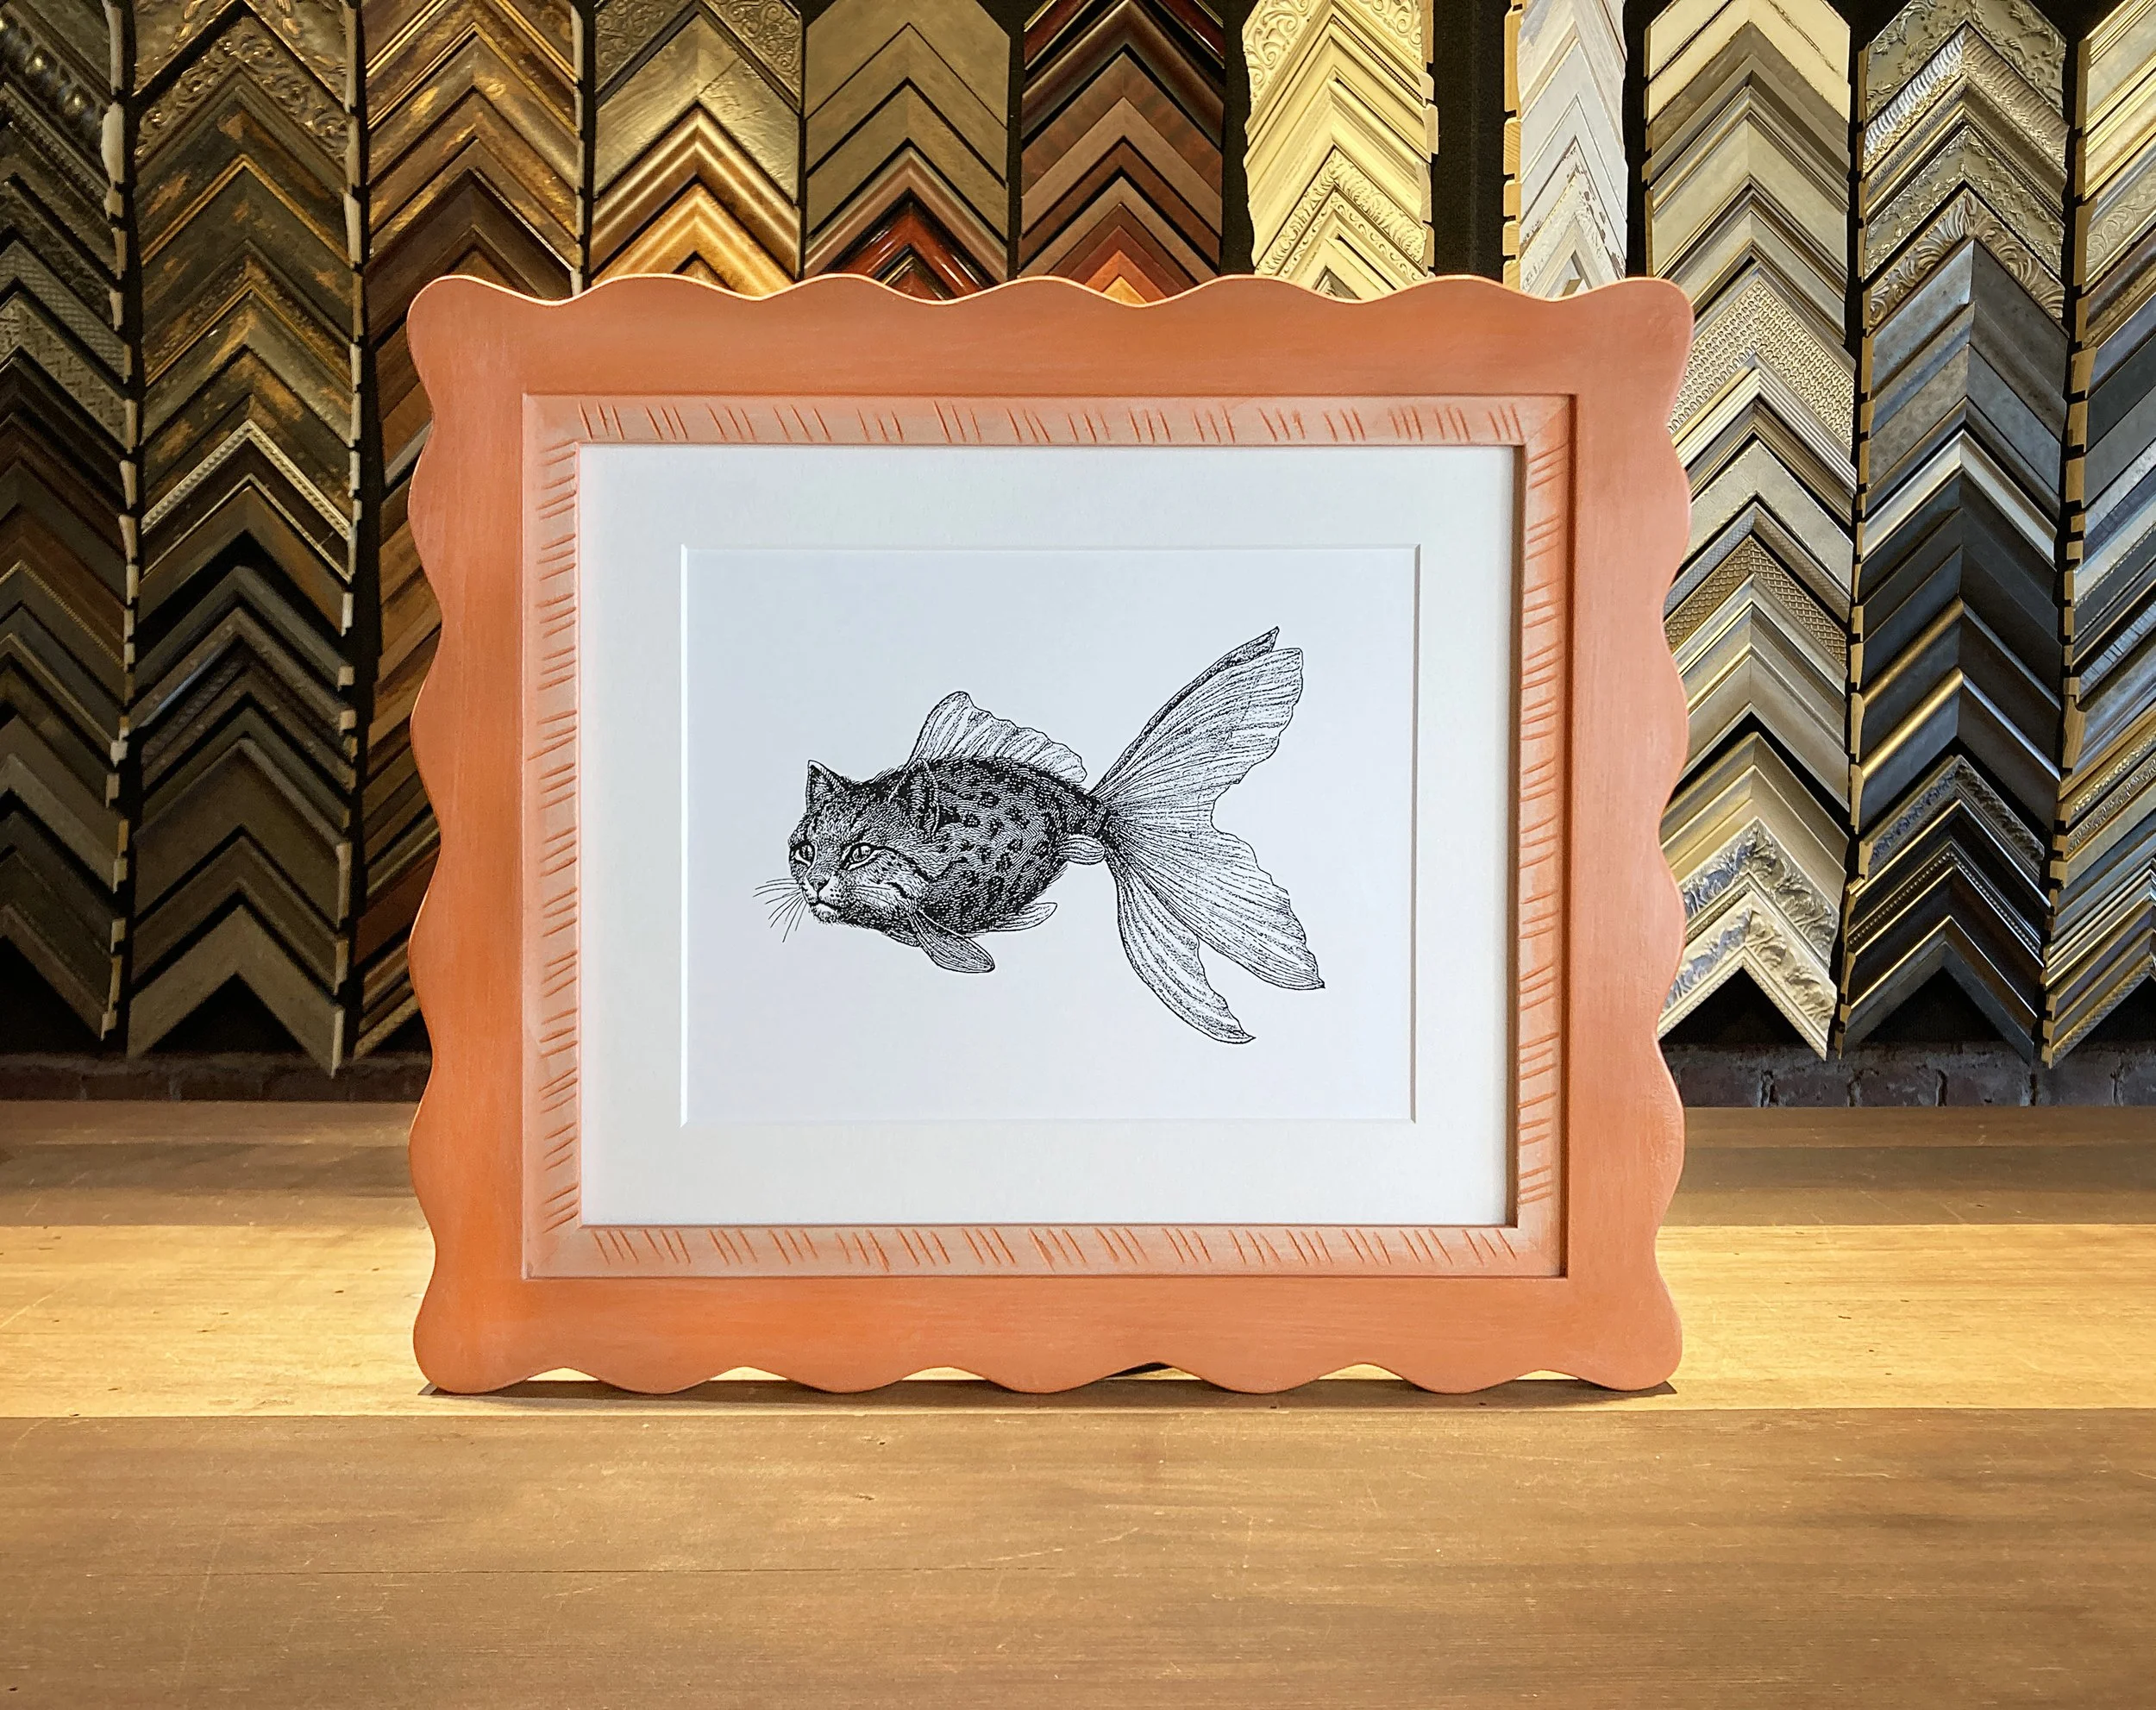
Sometimes we can have all the fun! Here we did just that. Went with a theme and ran with it. We were given a print and told to “do your thing”…and we did. A fun little creative project for our friend Caitlyn. She handed us this Stockboy Designs catfish print. We went bright, fun and used the color of our logo, lol. But actually the color is referencing the gold color of a gold fish and the orange of a fluffy tabby cat. Finished with True Vue Optium Museum Acrylic.
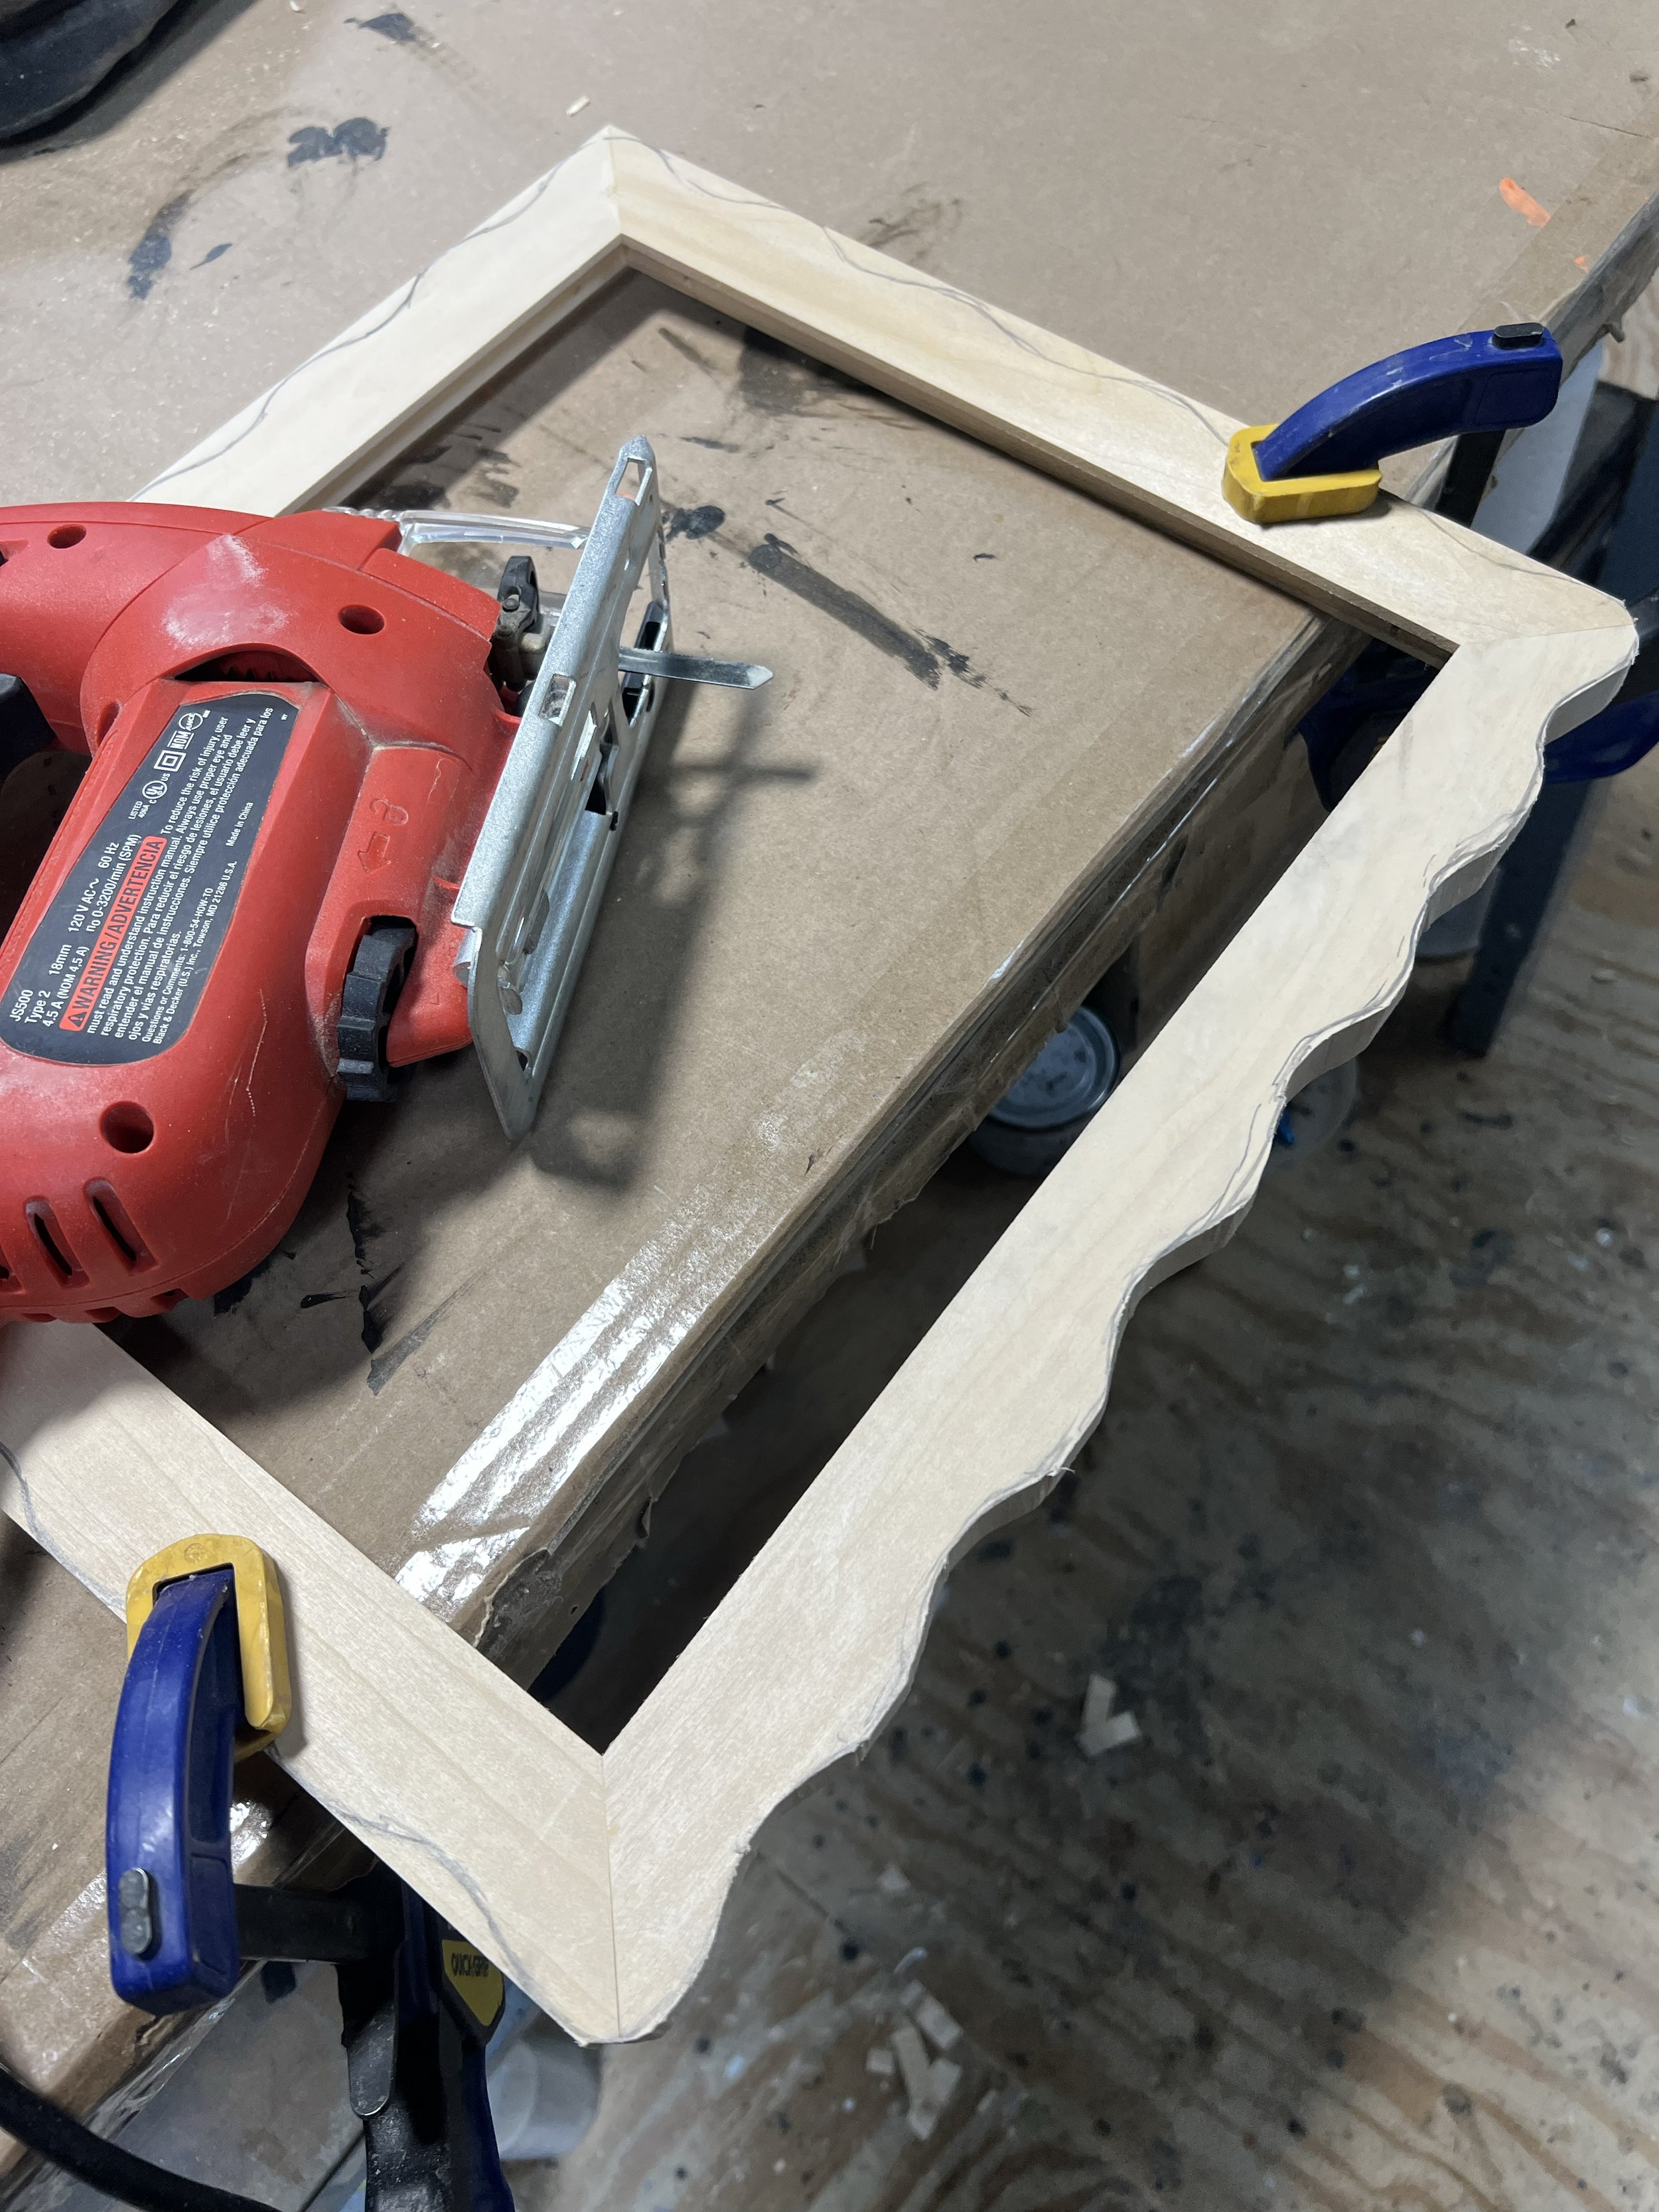
The first step was to make a two inch baswood frame at the correct size. Then we drew the rough shape of the wavey border. After that we used a jig-saw to trim off the excess wood and leave the desired shape. Clamped the frame to the table and made cuts from left and right towards the middle of the curve.
The cuts are rough but most of the material is removed and now the frame is ready for shaping further. The basswood sands well, meaning that is is soft and removes with 120 grit sandpaper quite easily. We were blending the cuts and rounding the wavey shape further.
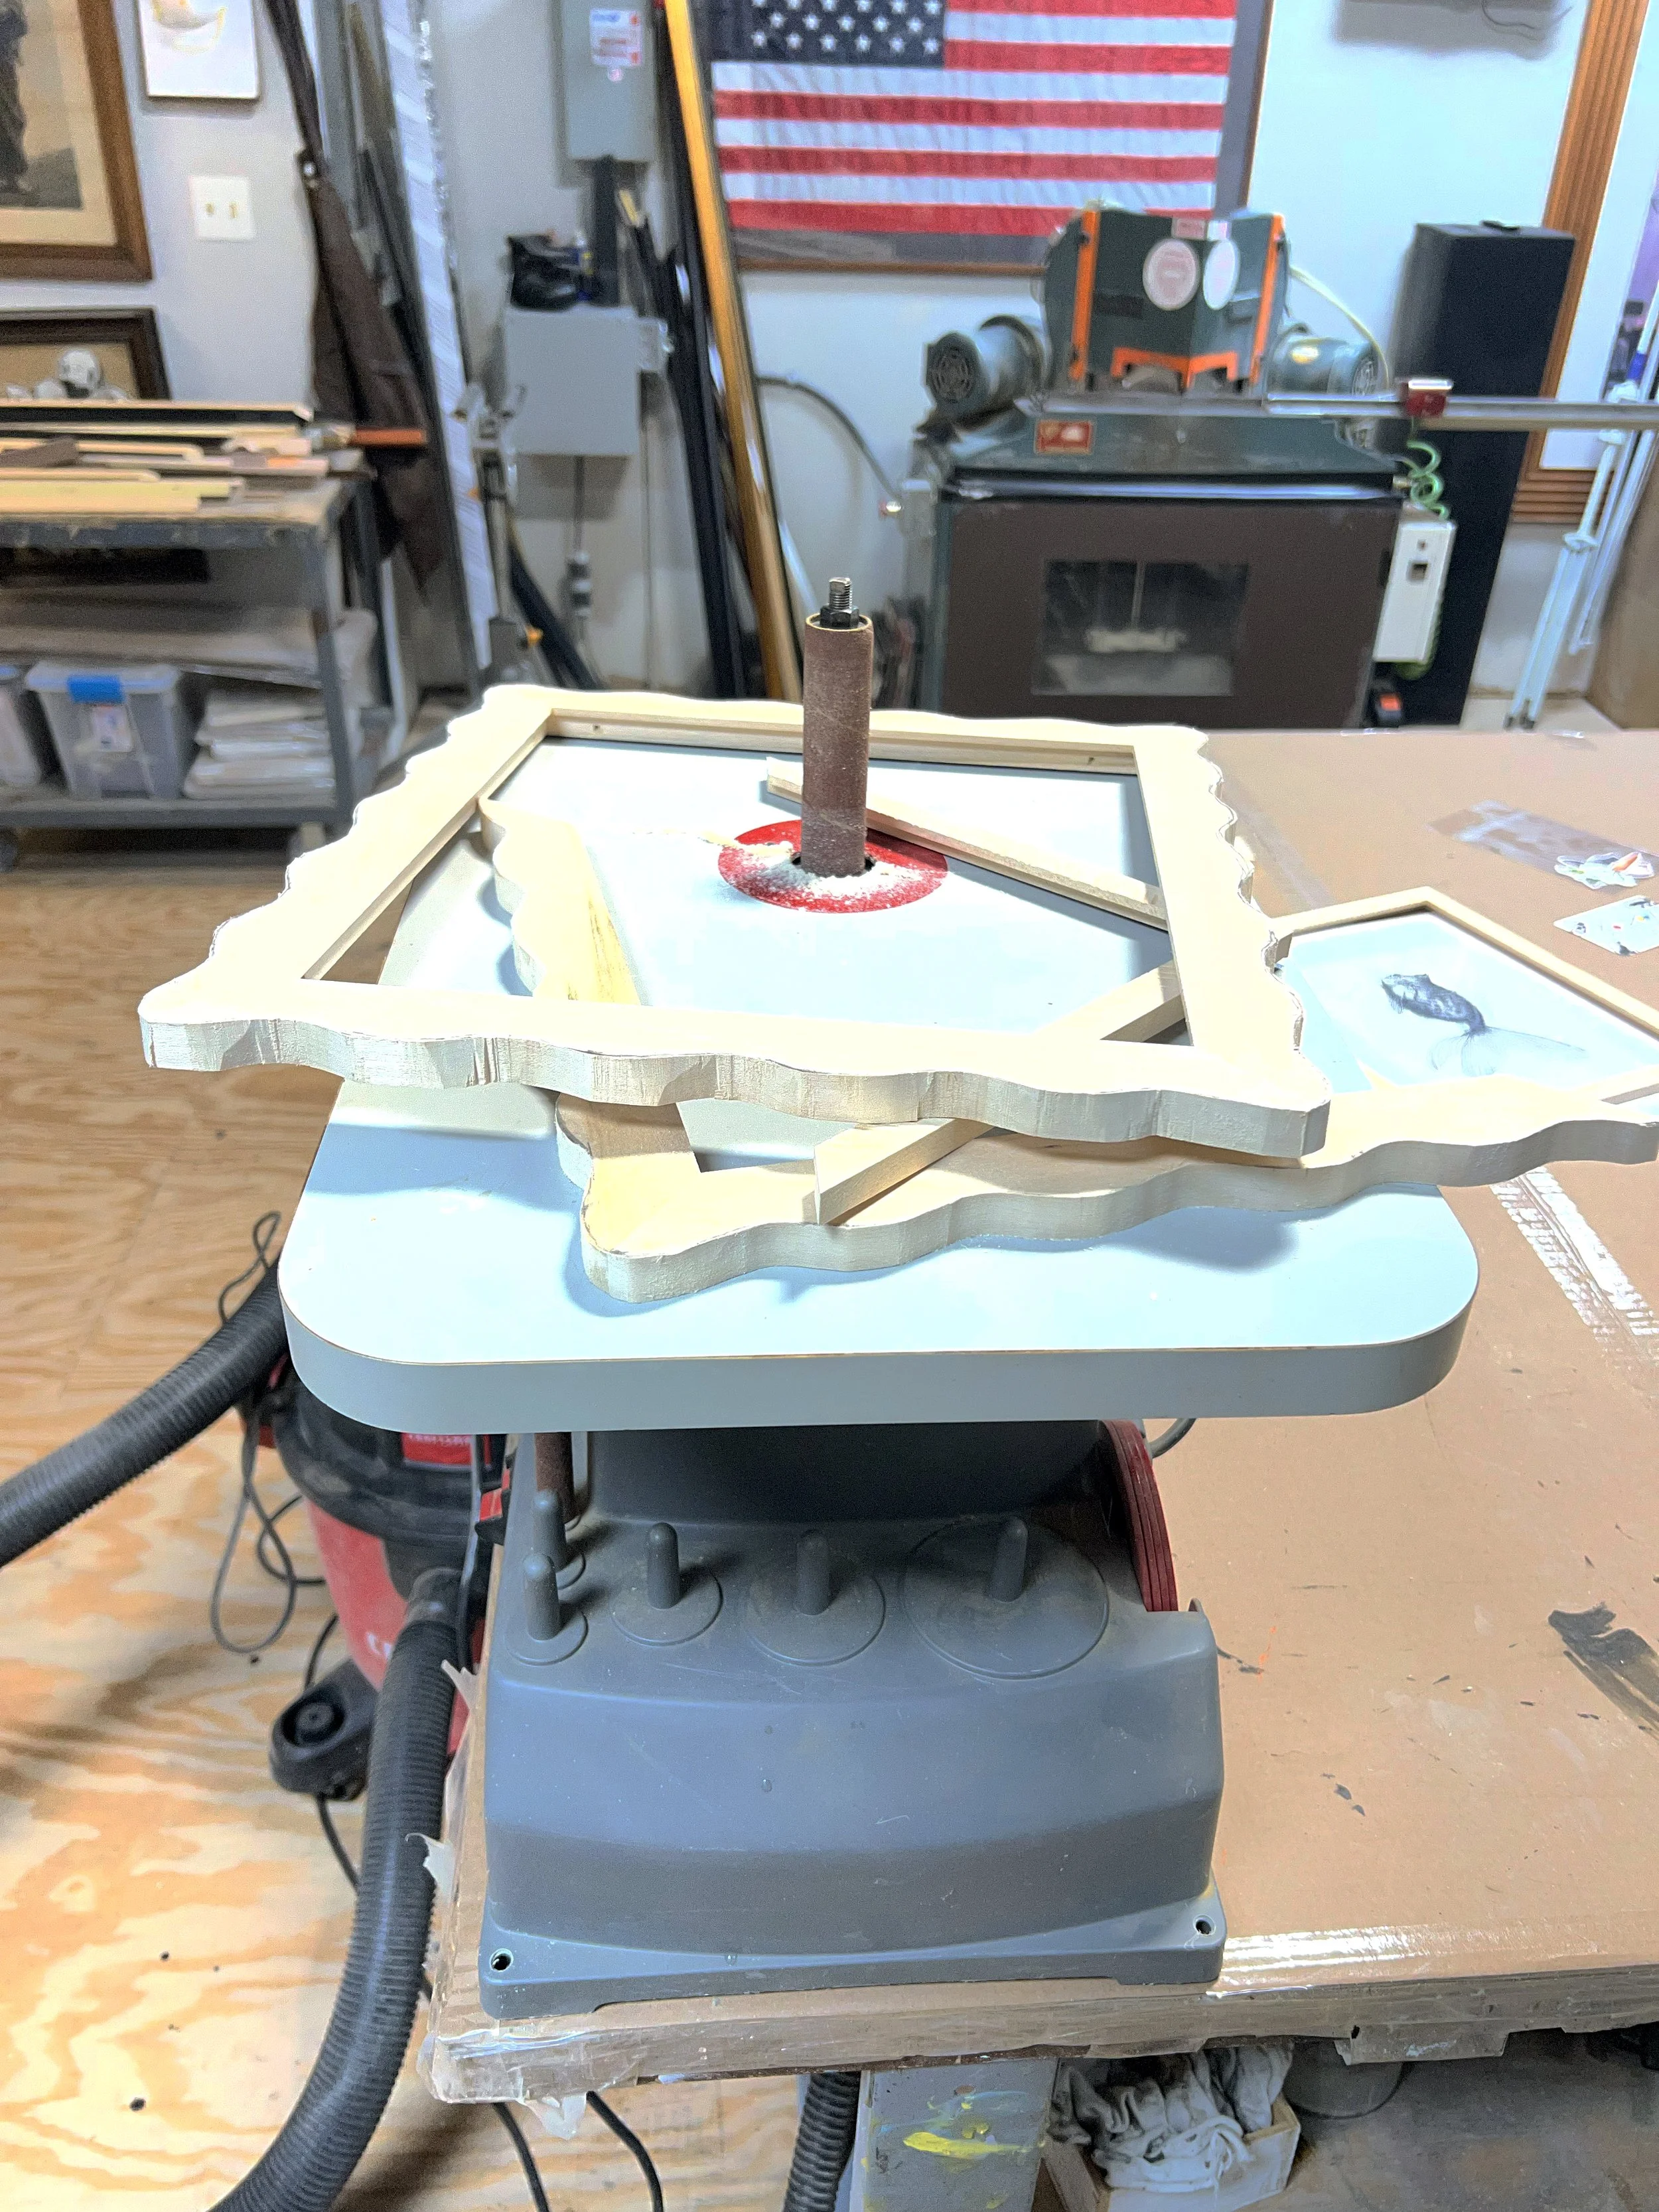
After rough shaping we made some sanding by hand but that was taking too long. We got out the oscillating spindle sander and that made a huge difference. The wavey shapes could be rounded into the edge of the frame and then touched up by hand.
We just kept sanding carefully and moving from one rounded section to the next. The jig-saw marks disappeared and the edge became smooth and ready for hand sanding in no time.
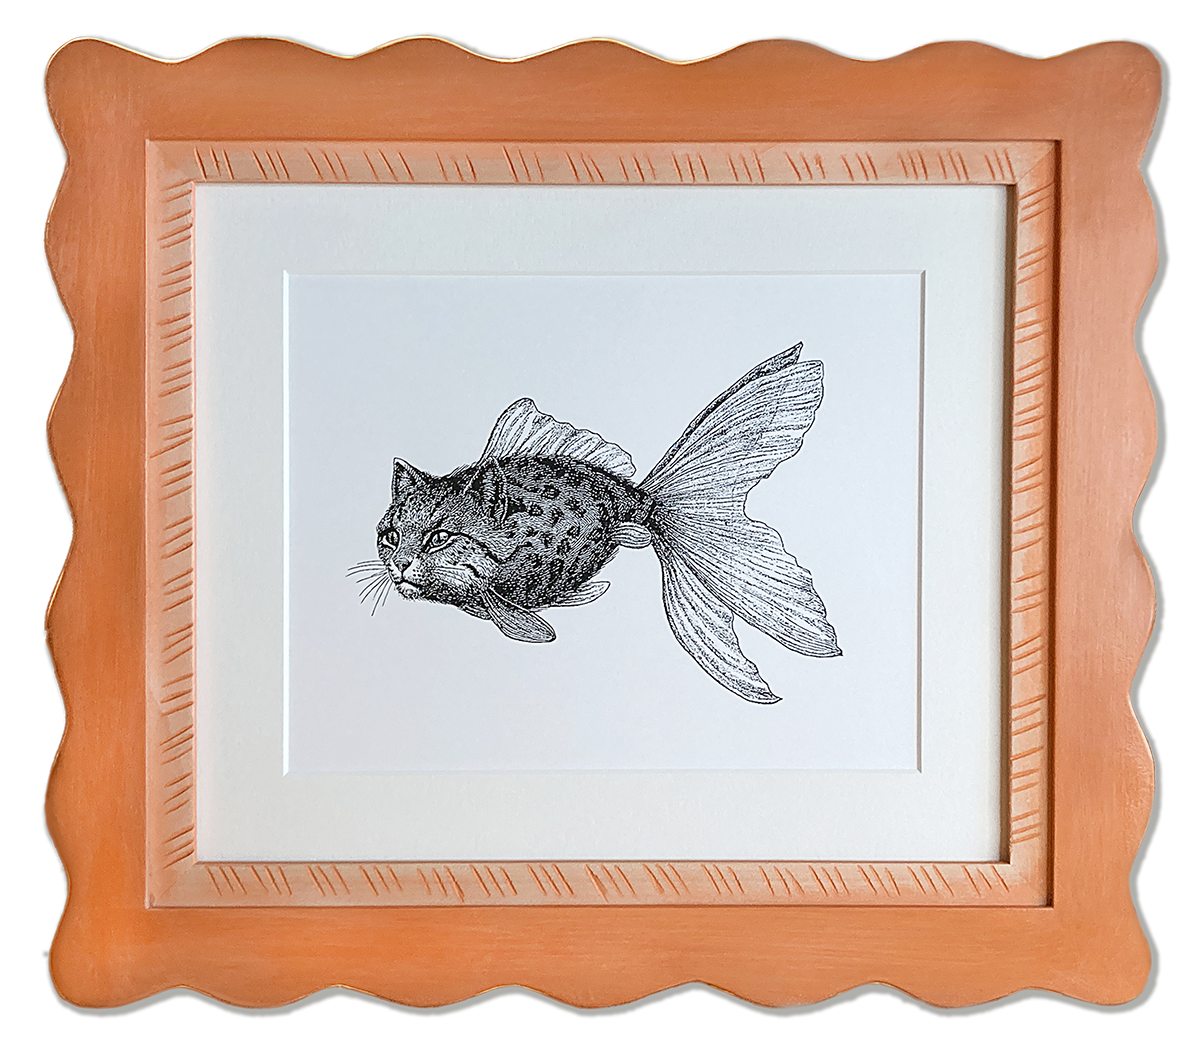
After sanding by hand until we were happy with the smooth surface we used chalk paint and layered it on, sanded and repeated that twice.
After sanding the final coat of paint with 300 grit sandpaper we waxed and polished the frame. We then stacked it onto the inner frame design and assembled the final piece once dry.